How to upgrade your server

Upgrading your server is easy and it shouldn't take more than a couple of minutes. In this article I will show you how to do it, step by step.
Our deploy worker only creates the cheapest plan when spawning your server to save on your expenses and because a single client should be handled pretty well by the server anyway.
Once you start adding more clients and your workload is putting a higher pressure on the server it is time to log into your Digitalocean account and perform the upgrade which involves a server reboot so be prepared for a drop on the connection with the VPN.
The first step is to identify your server and click on it so we can navigate to the info page where all the options will be available to us. One thing that I recommend before any major operation such as this one is to take a snapshot of your server. Keep in mind that, during the creation of the snapshot, your VM instance will be powered down.
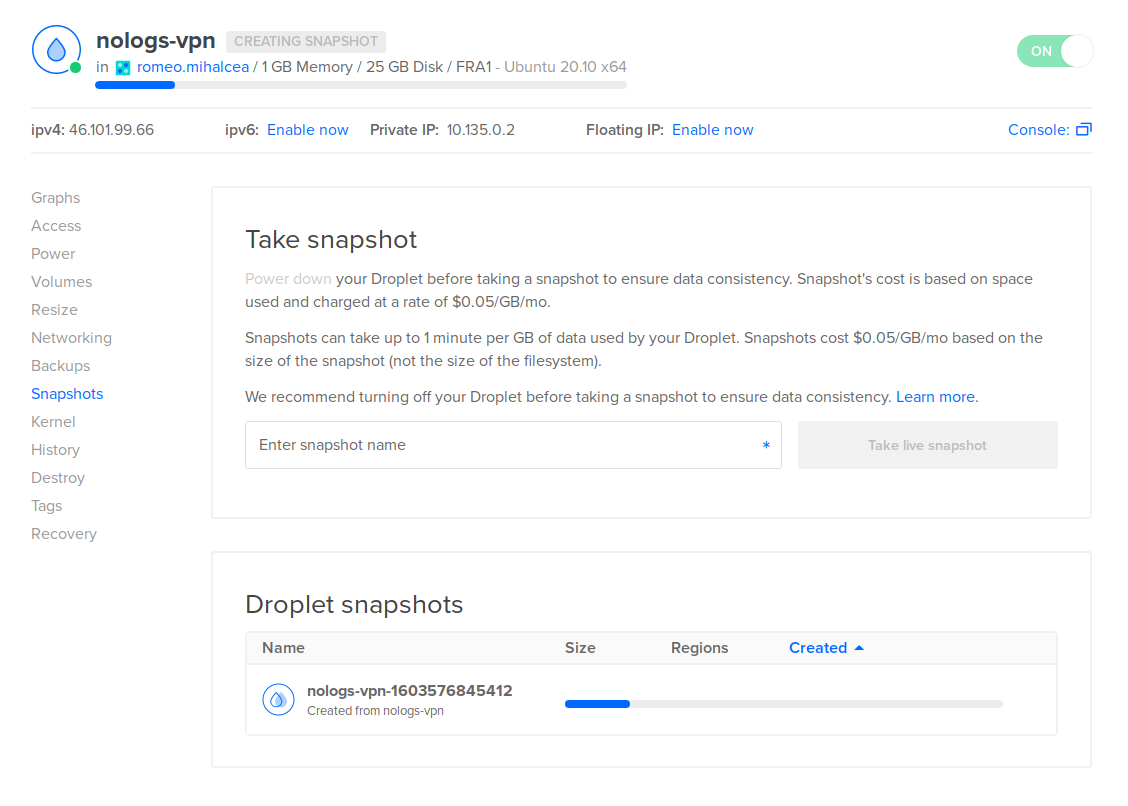
This operation will allow us to revert back to a working state in case something unplanned takes place.
Now that our server has a snapshot we can go ahead with the upgrade process so let's navigate to the "Resize" page.
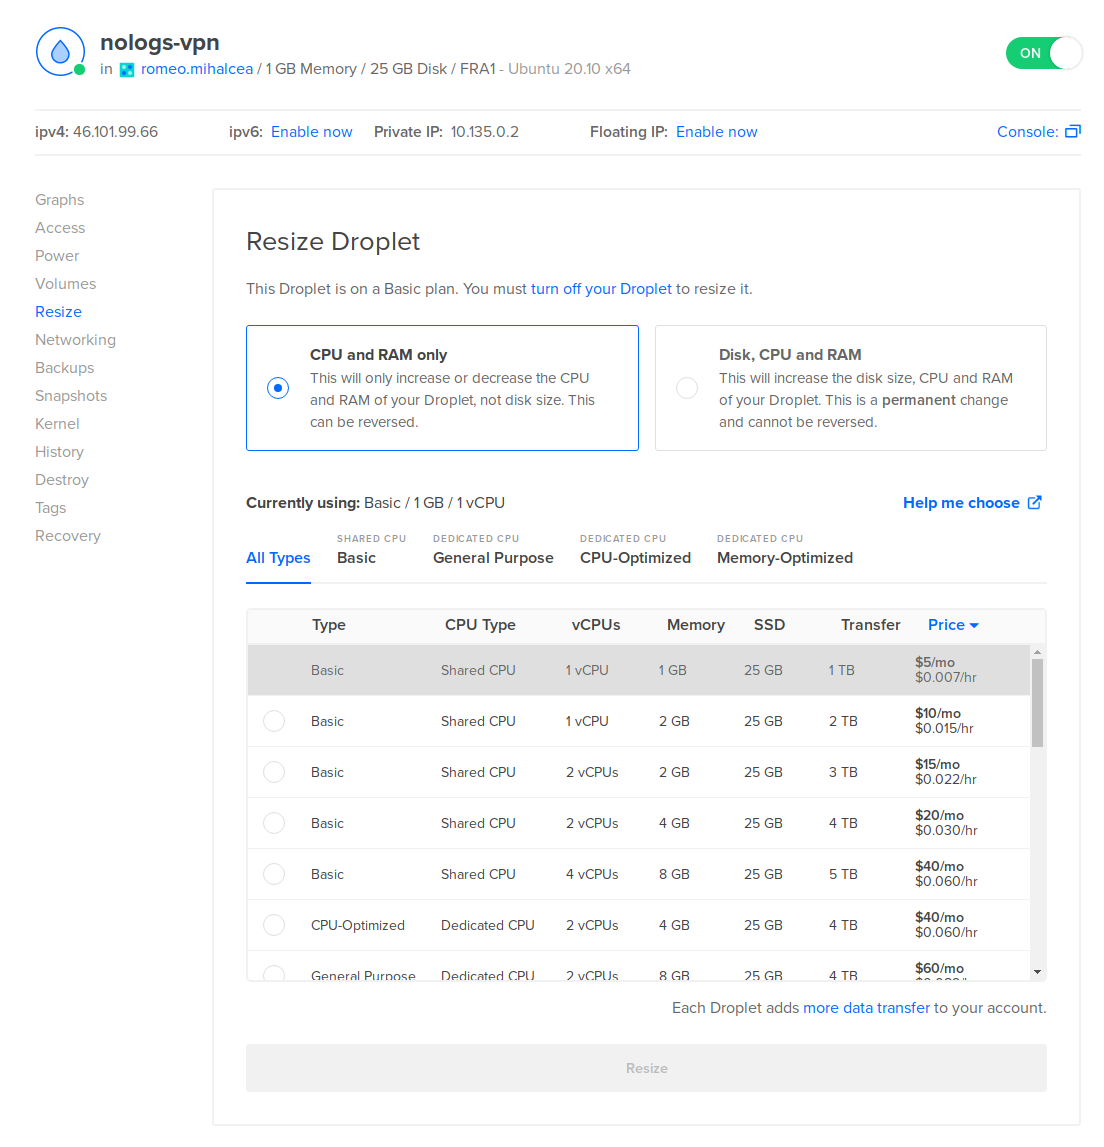
Usually, a VPN server is heavier on the CPU than anything else so I recommend looking at upgrades in terms of CPU more than anything else. Keep in mind that your VM needs to be powered off before attempting the upgrade.
That's it. Once the upgrade process is done you can power the VM back on and connect to your VPN.